
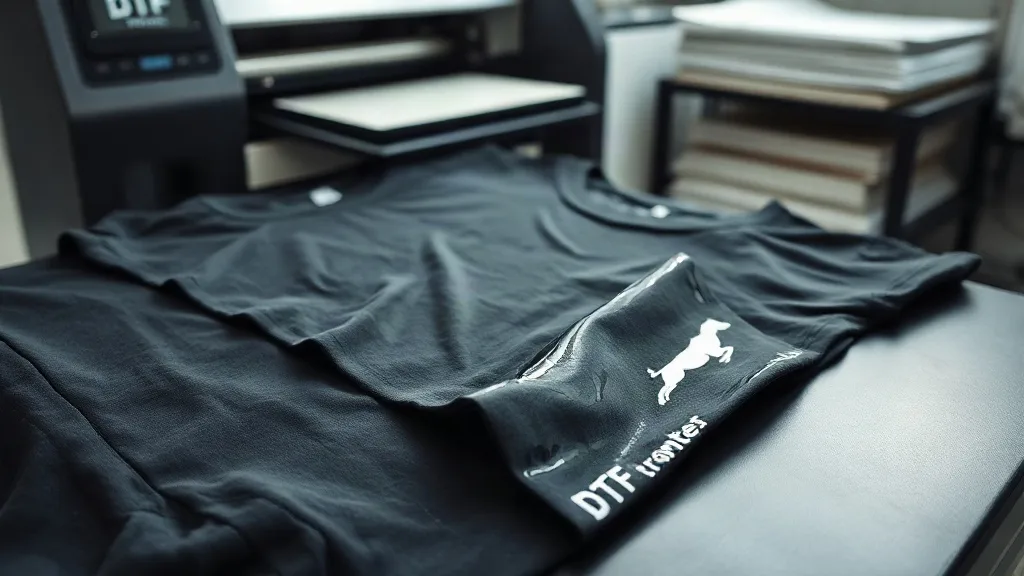
You have dialed in your printer, your powder shaker is running smoothly, and your press is calibrated. Then a job comes off the platen with a faint orange peel texture, or a print cracks after the first wash. Defects in dtf transfers rarely appear out of nowhere. They are usually the visible end of a small imbalance somewhere in the workflow, and most of them can be traced back to a handful of repeatable causes. This guide is not about buying new equipment. It is about reading the defect in front of you, understanding what it is telling you, and making the adjustment that actually solves it.
Start With the Defect, Not the Machine
When a print goes wrong, the instinct is to start changing settings. That usually makes things worse because you lose track of what worked. A better habit is to classify the defect first. Is it a transfer problem, a powder problem, a press problem, or a fabric problem? Each category leaves a different signature on the final print, and once you learn to read those signatures, troubleshooting becomes a two-minute check instead of an hour of guessing.
Keep a simple log next to the press. Note the film brand, powder type, press temperature, dwell time, pressure setting, and fabric composition for every job that fails. After a week you will see patterns that no forum thread can give you. This is the kind of shop-floor experience that separates a reliable dtf operation from one that fights the same defects over and over.
The Most Common DTF Transfer Defects and Their Fixes
1. Faint or Missing White Ink
If the white layer looks thin, patchy, or almost transparent, the print will look dull on dark garments and will wash out quickly. The usual causes are a clogged white printhead, insufficient white ink density in the RIP settings, or a white ink circulation issue. White ink settles, so if the printer sat idle for a few hours without agitation, the pigment separates. Run a nozzle check first. If the pattern is incomplete, do a clean cycle and let the printer rest before printing again. In the RIP, confirm that the white layer is set to the correct density for the fabric you are using. A common mistake is using a light-garment profile on a dark shirt, which underprints white and leaves the color layer floating on insufficient opacity.
2. Powder Not Melting Evenly
You will see a grainy, sandy texture on the film after the powder step, or patches where the powder did not adhere at all. This almost always points to moisture. Powder absorbs humidity from the air, and damp powder clumps and melts unevenly. Store powder in a sealed container with a desiccant pack, and avoid leaving the shaker tray open for long periods. If you are in a humid climate, a small dehumidifier near the powder station pays for itself quickly. The second cause is uneven shaking. A manual shaker can leave thin spots on large gang sheets. If you run volume, a powered shaker with a uniform distribution roller is worth the investment.
3. Prints Cracking After Washing
Cracking is the defect that generates the most customer complaints, and it is usually a stretch problem rather than an adhesion problem. The print itself may be fine, but the fabric stretches more than the ink film can handle. This is especially common on 50/50 blends and on garments with high elastane content. The fix is not always a different film. Sometimes it is a matter of reducing the ink laydown so the film is thinner and more flexible, or choosing a powder with a lower melt point that fuses into a more elastic layer. Pressing at the correct temperature and pressure also matters. Over-pressing can make the film brittle, while under-pressing leaves it weakly bonded.
4. Color Looks Washed Out or Shifted
If the colors look muted compared to your screen, the issue is usually in the color management chain. Check that you are using the correct ICC profile for the specific film and ink combination. A profile built for one film brand can produce noticeable shifts on another. Also verify that the white layer is fully opaque. A thin white layer makes colors look darker and less saturated because the garment color shows through. Finally, check the press temperature. Excessive heat during the transfer step can cause sublimation of certain pigments, which shifts colors and reduces vibrancy.
5. Film Curling or Wrinkling During Printing
Curled film causes head strikes, smeared prints, and jams. The cause is almost always environmental. Film absorbs moisture and expands, then contracts as it dries, which makes it curl at the edges. Store film in its original packaging in a dry area, and let it acclimate to the print room before use. If you print in a garage or a room with wide temperature swings, a simple storage cabinet with a stable environment will solve most curling issues. Also check that your printer's platen heater is not set too high, which can dry the film unevenly and cause it to warp as it passes through.
Press Settings That Quietly Cause Defects
Many defects that look like ink or powder problems are actually press problems. Temperature, pressure, and dwell time work together, and changing one without adjusting the others creates instability. A common example is increasing pressure to fix poor adhesion, which then causes the print to spread or the film to wrinkle. Use a consistent press setting for each fabric type and record it. For most cotton and cotton-blend garments, a medium pressure with a firm, even platen is sufficient. For stretchy fabrics, slightly lower pressure with a longer dwell can give better results than high pressure with a short dwell.
Do not overlook the platen itself. A worn or uneven platen pad can create pressure variations across a single print, leading to patchy adhesion that only shows up after washing. Check the pad regularly and replace it when it starts to compress unevenly.
When to Replace Film, Powder, or Supplies
Some defects are simply a sign that a consumable has aged. Film that has absorbed too much moisture will never print cleanly, no matter how many settings you adjust. Powder that has clumped beyond what shaking can fix should be discarded. Ink that has been sitting past its recommended shelf life may not cure properly even if it prints well. Keep track of purchase dates and rotate stock. A simple first-in, first-out system on your shelf prevents most age-related defects before they start.
If you are sourcing dtf transfers near me for resale or for your own shop, ask the supplier about their storage and shipping practices. Film and powder that sit in a hot truck or a humid warehouse can arrive already compromised, and no amount of troubleshooting will bring them back.
Building a Defect-Proof Routine
The shops that rarely see defects are not using secret equipment. They have a routine. A daily nozzle check, a weekly powder inspection, a monthly press calibration, and a consistent storage system prevent most of the problems covered in this guide. When a defect does appear, the routine gives you a baseline to compare against, which makes the cause obvious. Treat troubleshooting as part of production, not as an interruption. That mindset shift alone will save you more time than any single piece of gear.
Frequently Asked Questions
Why do my DTF transfers look grainy after pressing?
Graininess usually means the powder did not melt completely. Check the press temperature first, then the dwell time. If both are within the recommended range for your powder, the powder may have absorbed moisture. Dry or replace it and try again.
Can I fix a print that already cracked after washing?
No. Once the ink film has cracked, the damage is permanent. You can remove the print with a heat press and a transfer remover, then re-press a new transfer. To prevent it, check the fabric stretch and adjust your press settings or powder choice for that garment type.
How do I know if my white ink is too thin?
Press a test print on a dark scrap shirt. If the colors look muted or the garment color shows through the design, the white layer is too thin. Increase the white density in your RIP settings and run a nozzle check to rule out clogs.
Why does my film curl at the edges during printing?
Curling is almost always caused by moisture absorption. Store film in a sealed bag in a dry environment, and let it acclimate before printing. If the problem persists, check the platen heater temperature and reduce it if it is drying the film too aggressively.
Is it worth buying a powered powder shaker?
If you print more than a few sheets a day, yes. A powered shaker distributes powder more evenly than a manual shake, which reduces thin spots and improves consistency across large gang sheets. It also reduces powder waste.