
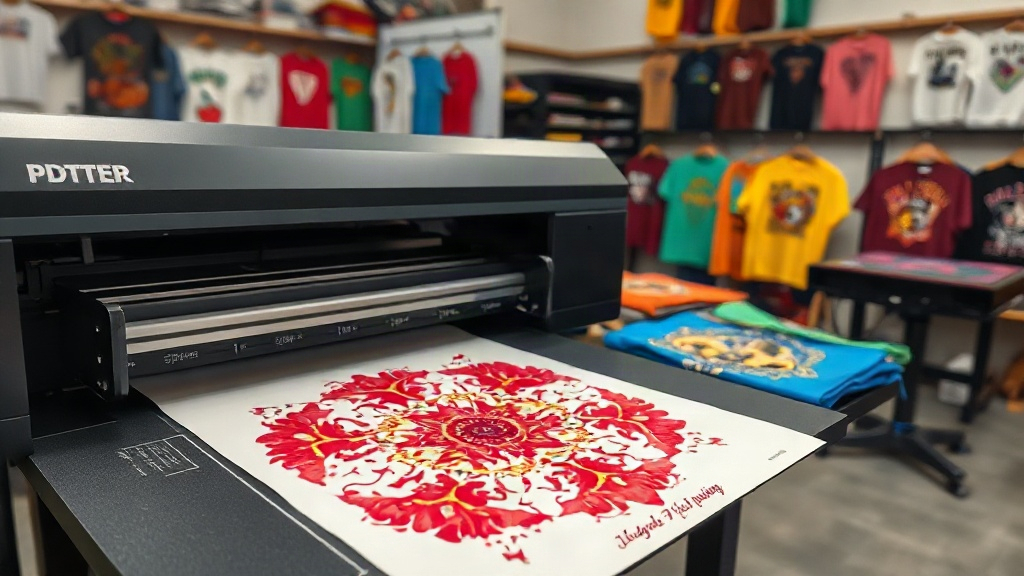
Imagine being able to print full-color, highly detailed designs onto almost any fabric without the hassle of weeding or the limitations of color selection. That's exactly what DTF printing offers. Whether you're a small business owner looking to expand your product line, a hobbyist wanting to create custom t-shirts for your team, or just someone curious about the latest in garment decoration, DTF printing is a game-changer. In this guide, we'll walk you through everything you need to know about DTF printing, from the basics to advanced tips, so you can start creating stunning apparel today.
What is DTF Printing?
DTF stands for Direct to Film. It's a printing method where your design is printed onto a special film, coated with a powder adhesive, and then heat-pressed onto the fabric. Unlike DTG (Direct to Garment) printing, which prints directly onto the shirt, DTF allows you to print on a wider range of materials, including cotton, polyester, blends, and even leather. This flexibility makes it a favorite among custom apparel creators.
The DTF Printing Process Step by Step
To give you a clear picture, here's how the DTF process works:
- Design Preparation: Create your artwork in a graphics program and mirror it horizontally. This is crucial because the design will be transferred face-down.
- Printing: Using a DTF printer, the design is printed onto a PET film. The printer lays down a layer of white ink first (if needed), followed by the color inks.
- Powdering: While the ink is still wet, a hot-melt adhesive powder is applied evenly over the printed design. The excess powder is shaken off.
- Curing: The film with the powder is then heated to melt the adhesive, usually with a heat gun or in a curing oven. This creates a dry, tack-free surface.
- Heat Pressing: The cured film is placed onto the fabric and pressed with a heat press at a specific temperature and pressure for a set time. Once cooled, the film is peeled away, leaving the design bonded to the fabric.
Each step requires attention to detail, but with practice, you'll get the hang of it. The result is a durable, stretchable print that feels soft to the touch.
Why Choose DTF Printing?
There are several compelling reasons why DTF printing has become so popular:
- No Weeding or Cutting: Unlike vinyl, DTF doesn't require weeding, saving you hours of tedious work.
- Full Color and Detail: You can print gradients, photographs, and fine lines with ease. No color limitations like with screen printing.
- Works on Many Fabrics: From 100% cotton to polyester and blends, DTF adheres well to most materials.
- Durability: When done correctly, DTF prints are wash-resistant and can stretch with the fabric without cracking.
- Cost-Effective for Short Runs: No setup costs, making it ideal for small batches or one-off items.
These benefits make DTF a versatile option for both beginners and professionals.
DTF vs. Other Printing Methods
How does DTF stack up against other popular printing techniques? Let's compare.
DTF vs. DTG
DTG (Direct to Garment) prints directly onto the fabric, which means it's limited to cotton and requires pre-treatment. DTF can be used on a wider range of fabrics and often produces more vibrant colors. However, DTG can be more cost-effective for large runs on cotton. For detailed, multi-color designs on various fabrics, DTF often wins.
DTF vs. Screen Printing
Screen printing is cost-effective for large quantities but requires separate screens for each color, making it impractical for complex designs or small batches. DTF shines for short runs and intricate designs, with no per-color setup. The feel of the print may differ; screen printing can be more durable for heavy usage, but DTF has improved significantly and offers a soft hand.
DTF vs. Vinyl
Heat transfer vinyl (HTV) is great for simple, single-color designs but requires weeding and layering for multi-color. DTF eliminates weeding and allows full-color designs in one step. For complex artwork, DTF is far more efficient.
Getting Started with DTF Printing
Ready to dive in? Here's what you need to know to start your DTF journey.
Essential Equipment
- DTF Printer: A dedicated printer that uses DTF inks and can handle film. Some convert Epson printers, but dedicated DTF printers are more reliable.
- DTF Ink: Specialized inks including CMYK and white. White ink is crucial for opacity on dark fabrics.
- PET Film: The transfer film. Look for double-sided matte or glossy options.
- Adhesive Powder: Hot-melt powder that bonds the ink to the fabric.
- Heat Press: A commercial heat press capable of uniform pressure and temperature.
- Curing Oven or Heat Gun: To melt the powder.
You can find complete DTF starter kits online, which can be a cost-effective way to begin.
Step-by-Step Tutorial for Your First DTF Print
Let's walk through a simple project: printing a colorful logo onto a cotton t-shirt.
- Prepare Your Design: Open your design in software like Photoshop or Illustrator. Ensure it's mirrored. Set your printer to the correct DTF settings (usually provided by the printer manufacturer).
- Print: Load the PET film into your printer. Print the design. The printer will lay down white ink first, then colors.
- Apply Powder: While the ink is wet, sprinkle the adhesive powder over the design. Use a tray to catch excess. Gently shake off any excess powder.
- Cure: Place the film in a curing oven at the recommended temperature (usually around 160°C/320°F) for 2-3 minutes, or use a heat gun until the powder melts and becomes glossy. Let it cool.
- Heat Press: Set your heat press to 160°C/320°F. Place the shirt on the press, then place the film design-side down. Press for 15-20 seconds with medium pressure.
- Peel: Allow to cool completely (cold peel) or peel while hot (hot peel) depending on the film type. Slowly peel the film away. Your design should be perfectly transferred.
Practice on scrap fabric first to dial in your settings.
Tips for Perfect DTF Transfers
To ensure professional results, keep these tips in mind:
- Control Moisture: Fabric should be dry before pressing. Moisture can cause poor adhesion.
- Even Powder Application: Too much powder leads to a rough feel; too little causes poor durability. Aim for a thin, even coat.
- Proper Curing: Undercured powder will wash off; overcured can burn. Follow the powder manufacturer's guidelines.
- Pressure Matters: Insufficient pressure results in incomplete transfer. Test your press with a pressure gauge.
- Storage: Store printed films in a cool, dry place. Use within a few days for best results.
Common DTF Printing Problems and Solutions
Even with experience, issues can arise. Here's how to troubleshoot:
- Design Cracking: Usually due to undercuring or insufficient pressure. Increase curing time or pressure.
- Washing Off: Likely undercured powder. Ensure powder is fully melted.
- Dull Colors: May need more white ink or higher print quality settings.
- Film Not Peeling: Allow to cool longer, or check if you're using hot peel film.
Frequently Asked Questions
How long does a DTF print last?
With proper application and care, a DTF print can last 50+ washes. Always wash inside out in cold water and avoid bleach.
Can I use DTF on polyester?
Yes, DTF works well on polyester and blends. However, lower temperatures may be needed to avoid scorching.
Do I need a special printer for DTF?
You can convert an Epson printer, but dedicated DTF printers are recommended for reliability and better white ink circulation.
Is DTF printing profitable for small businesses?
Absolutely. With low startup costs and the ability to print on demand, DTF is ideal for small businesses and side hustles.
What fabrics cannot be used with DTF?
Fabrics with a heavy water-repellent coating or very stretchy materials like spandex may require special handling. Always test first.
With this guide, you're well on your way to mastering DTF printing. Remember, practice makes perfect. Start with simple designs, and soon you'll be creating vibrant, durable custom apparel that stands out.